Without a doubt, the most cost-effective way to vape is to get a reusable vaporizer or vape tank. Buying your own bottles of vape juice, dry herb, or wax gives you so much more bang for your buck than buying disposable cartridges or disposable vapes. However, you only get to enjoy the savings if you properly maintain your devices.
One of the most important pieces of maintenance for vape tanks or heating chambers is to make sure that your vape coils are kept clean. While it isn't necessarily hard to clean vape coils, it's very easy to ruin coils (or even entire tanks) if you don't clean them the proper way.
Curious about the best way to keep your vape pen, tank, and coils clean? In this article, we’ll teach you how (and more) below!
Why Is Cleaning Your Vape Important?
There are several reasons why it's important to clean your vape on a regular basis. Let's take a look at some of the most important reasons below:
Maintenance Check
When you take apart your vape to clean it, it gives you an opportunity to visually inspect the internal components of your device. For vape juice pens, it's a great chance to see if the heating coil needs replacing, if you need to replace the wick material, or if there are any other parts or components that don't look quite right.
For dry herb and wax vapes, it's a chance to prevent vapor path clogs before they start. If you're using a conduction vape pen, it's also a good chance to see if the heating coils just need to be cleaned or need to be replaced entirely.
Maintain Quality Flavor
A clean vape makes for clean tasting vapor, and dirty vapes are a common cause for burnt tasting flavors. Your heating coils will eventually need to be replaced, and towards the end of their life, they will create nasty, harsh vapor that can ruin a quality vaping session. Regular cleaning will avoid this issue almost entirely, which is why it should be part of your vaping habit.
Improved Overall Vaping Experience
A well-maintained, clean vape just makes for a better overall experience. Not only will your flavor be consistently delicious, but you'll avoid making your vape a nasty, sticky experience. You may find it difficult to use a touchscreen on a vape covered in residue, while devices with physical buttons may stop working entirely if they get gunked up.
What Are the Components to Clean in a Vape Device?
The specific components that you'll want to focus on will vary depending on what the vape is designed to do. You'll also see some variation based on specific brands and models, though the following information will give you a good idea of what to expect with most general devices:
What Are the Components to Clean in an E-Liquid Vape?
E-liquid vapes have the most parts to consider when thinking about regular cleaning. This is because more advanced vape tanks (like those with rebuildable atomizers) have several intricate parts that need to be removed for cleaning.

First, you'll see the drip tip (or the mouthpiece). Originally called drip tips because you would literally drip vape juice into this piece onto coils, these pieces now are basically mouthpieces. You will want to be sure to keep this part clean since vapor will always make contact here on its way to your lungs.
Next, you have the vape tank (the device that holds your vape juice). They will usually have a lid that connects directly to the drip tip, and that lid needs to be kept clean, as it is part of the vapor path. Inside the tank, you'll find heating coils (or a heating element that heats your juice) and possibly a wick that soaks up vape juice to be placed into contact with the coils.
What Are the Components to Clean in a Dry Herb or Wax Vape?
Dry herb and wax vapes are usually simpler than e-liquid vapes. Wax vapes will have a heating chamber with coils, which connects to the mouthpiece. Dry herb vapes might have heating coils (if they are conduction vapes), which will lead to a mesh filter before opening into the vapor path.
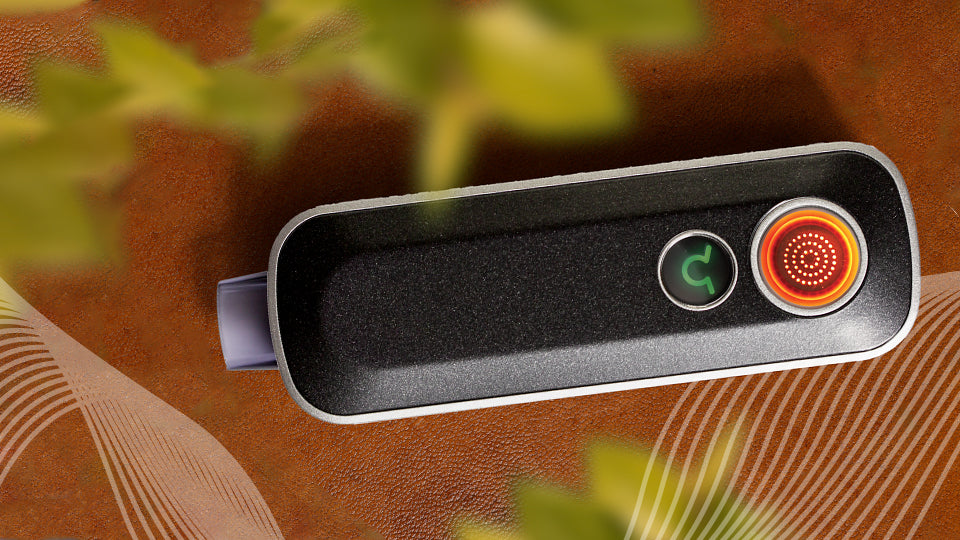
If you're using a convection vape, you may or may not have exposed heating elements. Many convection vapes use built-in heating chambers or walls that require little cleaning or maintenance, but they also can't be replaced. They will usually have a mesh screen (like conduction vapes), and the mesh screen in both styles will need to be replaced on a regular basis.
When to Clean Your Vape Device
Usually, you'll want to do a minor clean on your vaping device once every 1-2 weeks, with a deeper clean every month, but it’s dependent on how often you are using your vape device. This will help avoid experiencing unexpected burnt flavors and will help keep your internal components in working order.
There are also other specific instances that you may need to make an unscheduled clean. Common reasons include:
A Burnt or Unpleasant Flavor
We've mentioned this several times, but a bad vapor taste almost always means you need to clean out your device. It can also help diagnose other problems if the nasty flavors persist after cleaning.
Low Vapor Output
If your vapor path is clogged or your heating coils are caked with residue (a common problem with wax vapes), you'll notice a significant decrease in vapor production. A clean may be needed to clear out clogs so you can get bigger, more satisfying hits.
Changing Vape Juice Flavors
If you're using a vape juice device, you'll usually want to clean the tank out if switching between flavors. This is because the residue of the previous oil will remain (and will still be saturated into the wick). If you want crisp, authentic flavors from your juice, you'll need to clean the tank when you change out flavors.
What Are the Common Cleaning Techniques?
Whether you're looking for a quick clean or a more thorough, deep clean, there are several techniques you can rely on to get solid results.
Standard Liquid Cleaners
The most common cleaning techniques involve a liquid cleaner, like rubbing alcohol or warm water. A quick warm water rinse is great for basic cleanings, while more in-depth cleanings benefit from rubbing alcohol or other dedicated cleaning agents. While household agents (like vinegar) are often used, we encourage you to follow your manufacturer's recommendations.
If you are cleaning inside of a vape juice tank, you should not use rubbing alcohol (also called isopropyl alcohol). It ignites easily and is extremely dangerous if vaporized and inhaled.
Dry Cleaning (or Burn-Off Cleaning)
This is a great technique if using a dry herb or wax vape with coils that have caked-on residue. You'll remove any vaping substance from inside the heating chamber and crank up the heat to the coils. When the coils have cooled, you can use a cotton swab with a cleaning solution to brush away any lingering gunk that may still be on the coils.
This technique is similar to how some ovens self-clean, and it's a great strategy for cleaning off newer coils. Older coils may not be able to use this strategy well since coils lose their ability to reach peak temperatures over time.
Ultrasonic Cleaning
If you have ever gone to a jewelry store and watched them clean jewelry in a small bath of water, you've seen ultrasonic cleaning in action. The water acts as a medium for ultrasonic vibrations to travel, which effectively knocks off the dirt and grime that may have built up inside your device.
You'll get an excellent clean from these devices, though you'll want to consider the upfront cost of this kind of cleaner, as well as any maintenance it may need for long-term use.
How to Clean a Vape Tank
Depending on how dirty your vape tank is, there are several different methods you can use to get it comfortably clean. You may be able to get away with just a warm water rinse, or you may need a heftier cleaning agent (like baking soda) to get the job done.
Water Rinse
If your vape tank just needs a quick clean, then a water rinse is ideal. All that a water rinse involves is:
- Disassemble your vape tank.
- Allow warm water to run over each individual component.
- Place each component on a towel to air dry.
For bigger parts of the vape tank, you can use a paper towel or microfiber cloth to gently dry it, but air drying is the best way to safely and thoroughly dry the internal components.
Deep-Clean Soak
If your vape tank needs a more thorough clean, soaking is the best way to tackle stubborn residue. There are several cleaning agents for soaking to consider, including:
- Grain alcohol (do not use rubbing alcohol)
- Vodka
- Vinegar
- Baking Soda
- Lemon juice
- Dish soap and warm water
With each of these cleaning agents, you'll let your vape tank soak for 1-2 hours. Afterward, thoroughly rinse components under running water and allow them to air dry.
Ultrasonic Cleaner
Finally, if you opt to invest in an ultrasonic cleaner, simply take your vape tank apart, fill your ultrasonic cleaner with water, and allow the device to go through a cleaning cycle (usually around 10 minutes). You'll want to follow included device instructions for more specific instructions, but the process is very simple regardless of which cleaner you end up with.
When to Replace Your Vape Tank
While vape tanks with proper maintenance can last for a long time, there will come a time that you need to replace the tank. Common signs include dwindling vapor production (even when primary components are replaced and clogs are removed), a stubborn, unpleasant flavor, or persistent leaks.
How to Clean Your Vape Coils
If you just want to clean your vape coils, the process is easy! The most important step in cleaning vape coils is to make sure you are only cleaning your vape coils, which means the other components need to be removed. For most vape tanks, this includes removing the drip tip, top cap, the bottom base, and the quartz or plastic tank cover.
Once the vape coil is isolated, you'll soak it, as we discussed earlier. You can use warm water and dish soap, vinegar, baking soda, or grain alcohol, and you'll soak for as long as you think you need to (usually 1-2 hours, but a longer soaking session won't damage the coils).
After soaking, rinse the coil in running, warm water for 20-30 seconds, and allow it to completely air dry before reassembling your vape tank.
How Long Do Vape Coils Last?
The life of a vape coil will depend largely on how often you use it, how well you take care of it, and what you are vaping. For example, coils used for wax vaping have a very short lifespan compared to coils in vape tanks, but a heavy vape juice vaper may need to replace their coils more often than a casual wax vaper.

In general, heating coils can last up to a month, though this will depend on the factors we mentioned before.
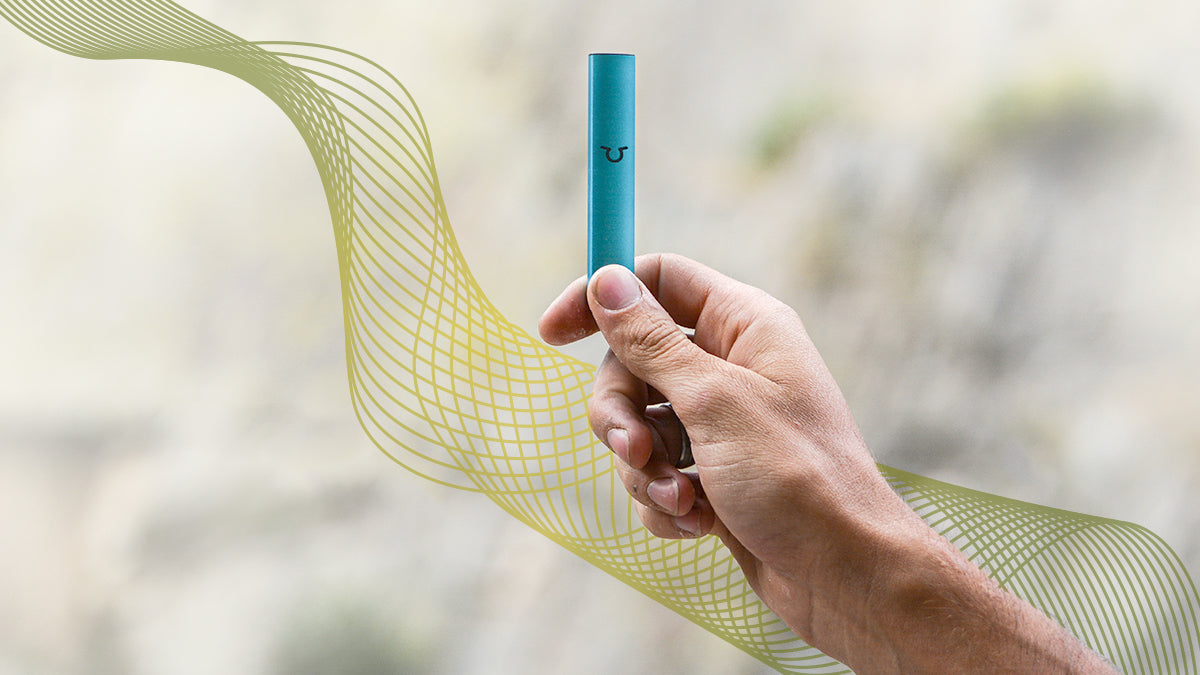
How to Clean a Vape Pen?
Vape pens usually require much less cleaning than a vape tank will (especially if using prefilled, disposable cartridges). However, you'll still want to keep residue from building up on the outside of the device (which will naturally happen as vapor comes into contact with the outside of the pen).

To clean a vape pen, take a dry cloth and wipe down the outside. This is usually all you'll need to do to keep a vape pen from getting sticky, gross, and hard to use. If you need a more thorough clean, wipe the device down with a damp rag. You'll never soak a vape pen or use harsher cleaning agents (like the ones we mentioned before).
Conclusion
Keeping your vape coils and vape tanks clean is pivotal to keep your device long-lasting and your vapor tasting great. Luckily, most cleaning for any style of vape is relatively simple and straightforward. Just be sure to put in the occasional time to keep the device clean and to keep watch of any signs that you need a deeper clean or a component replaced.
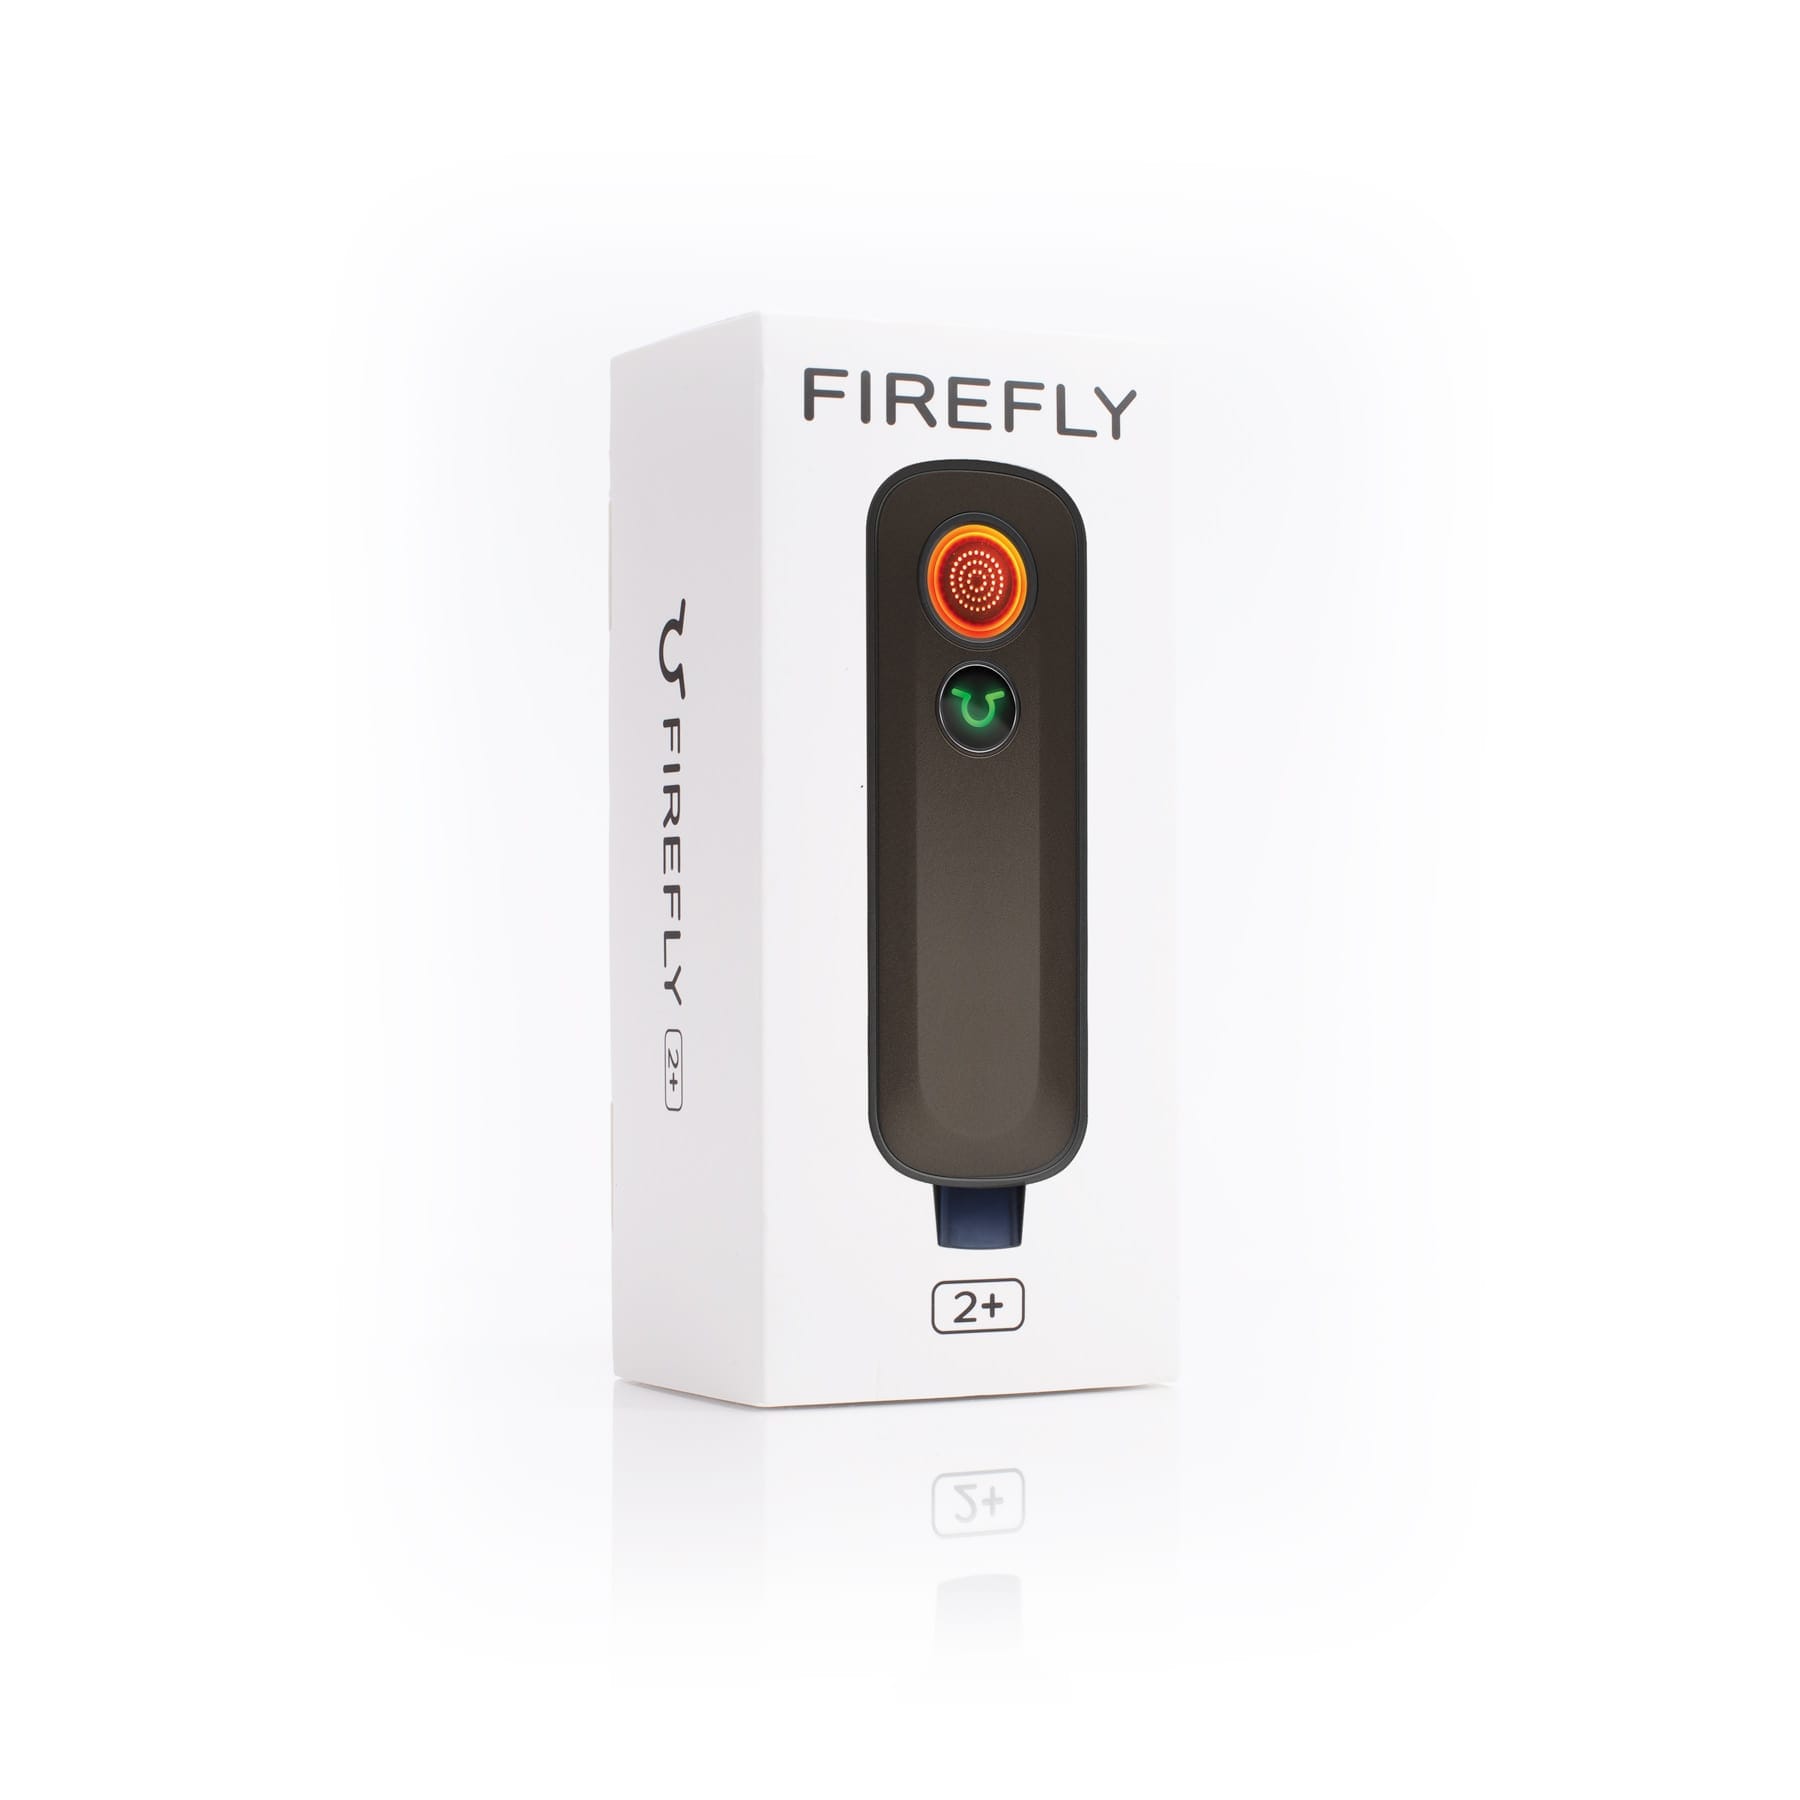
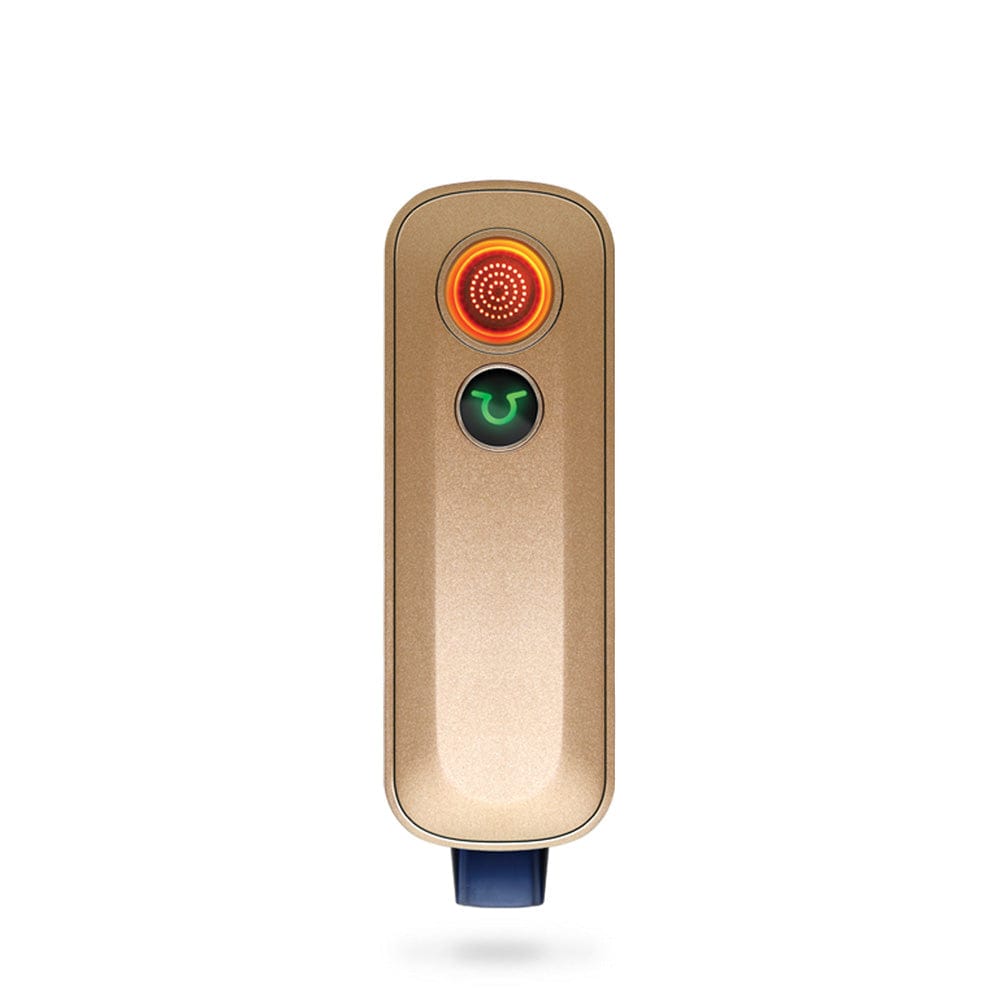
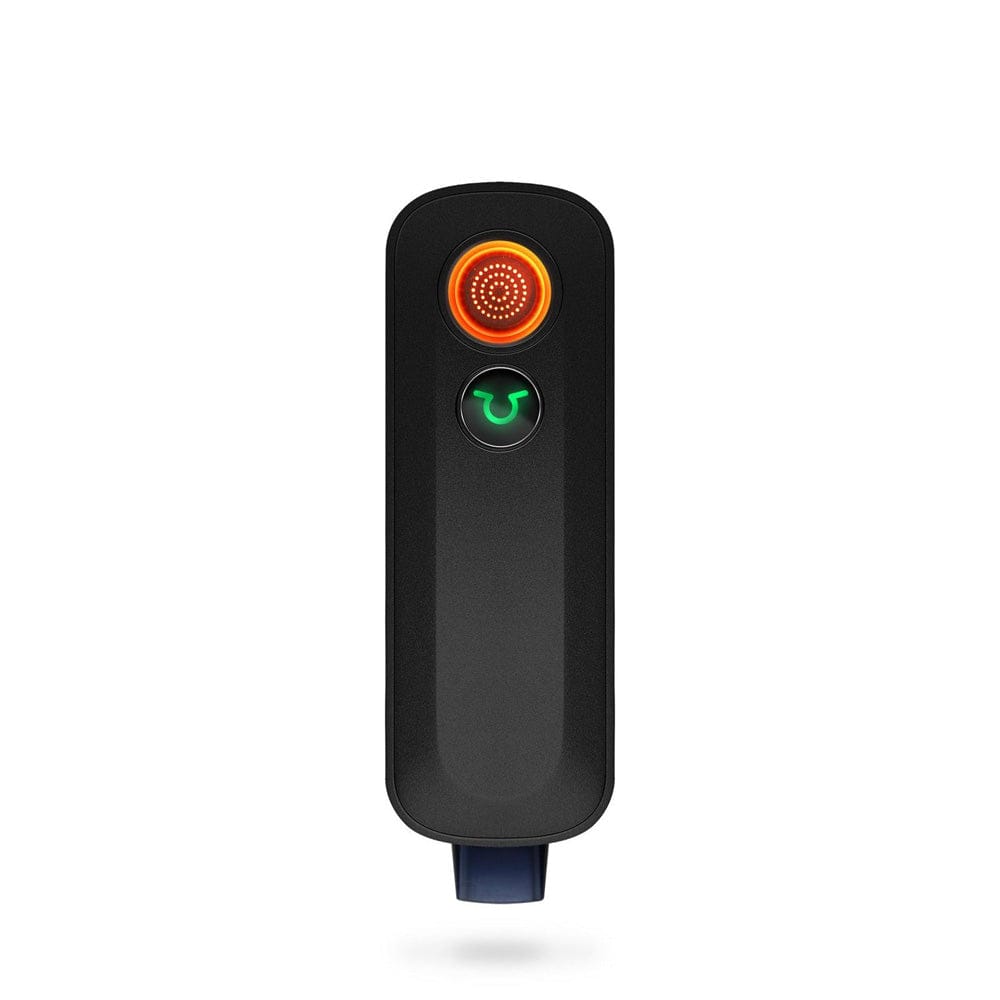
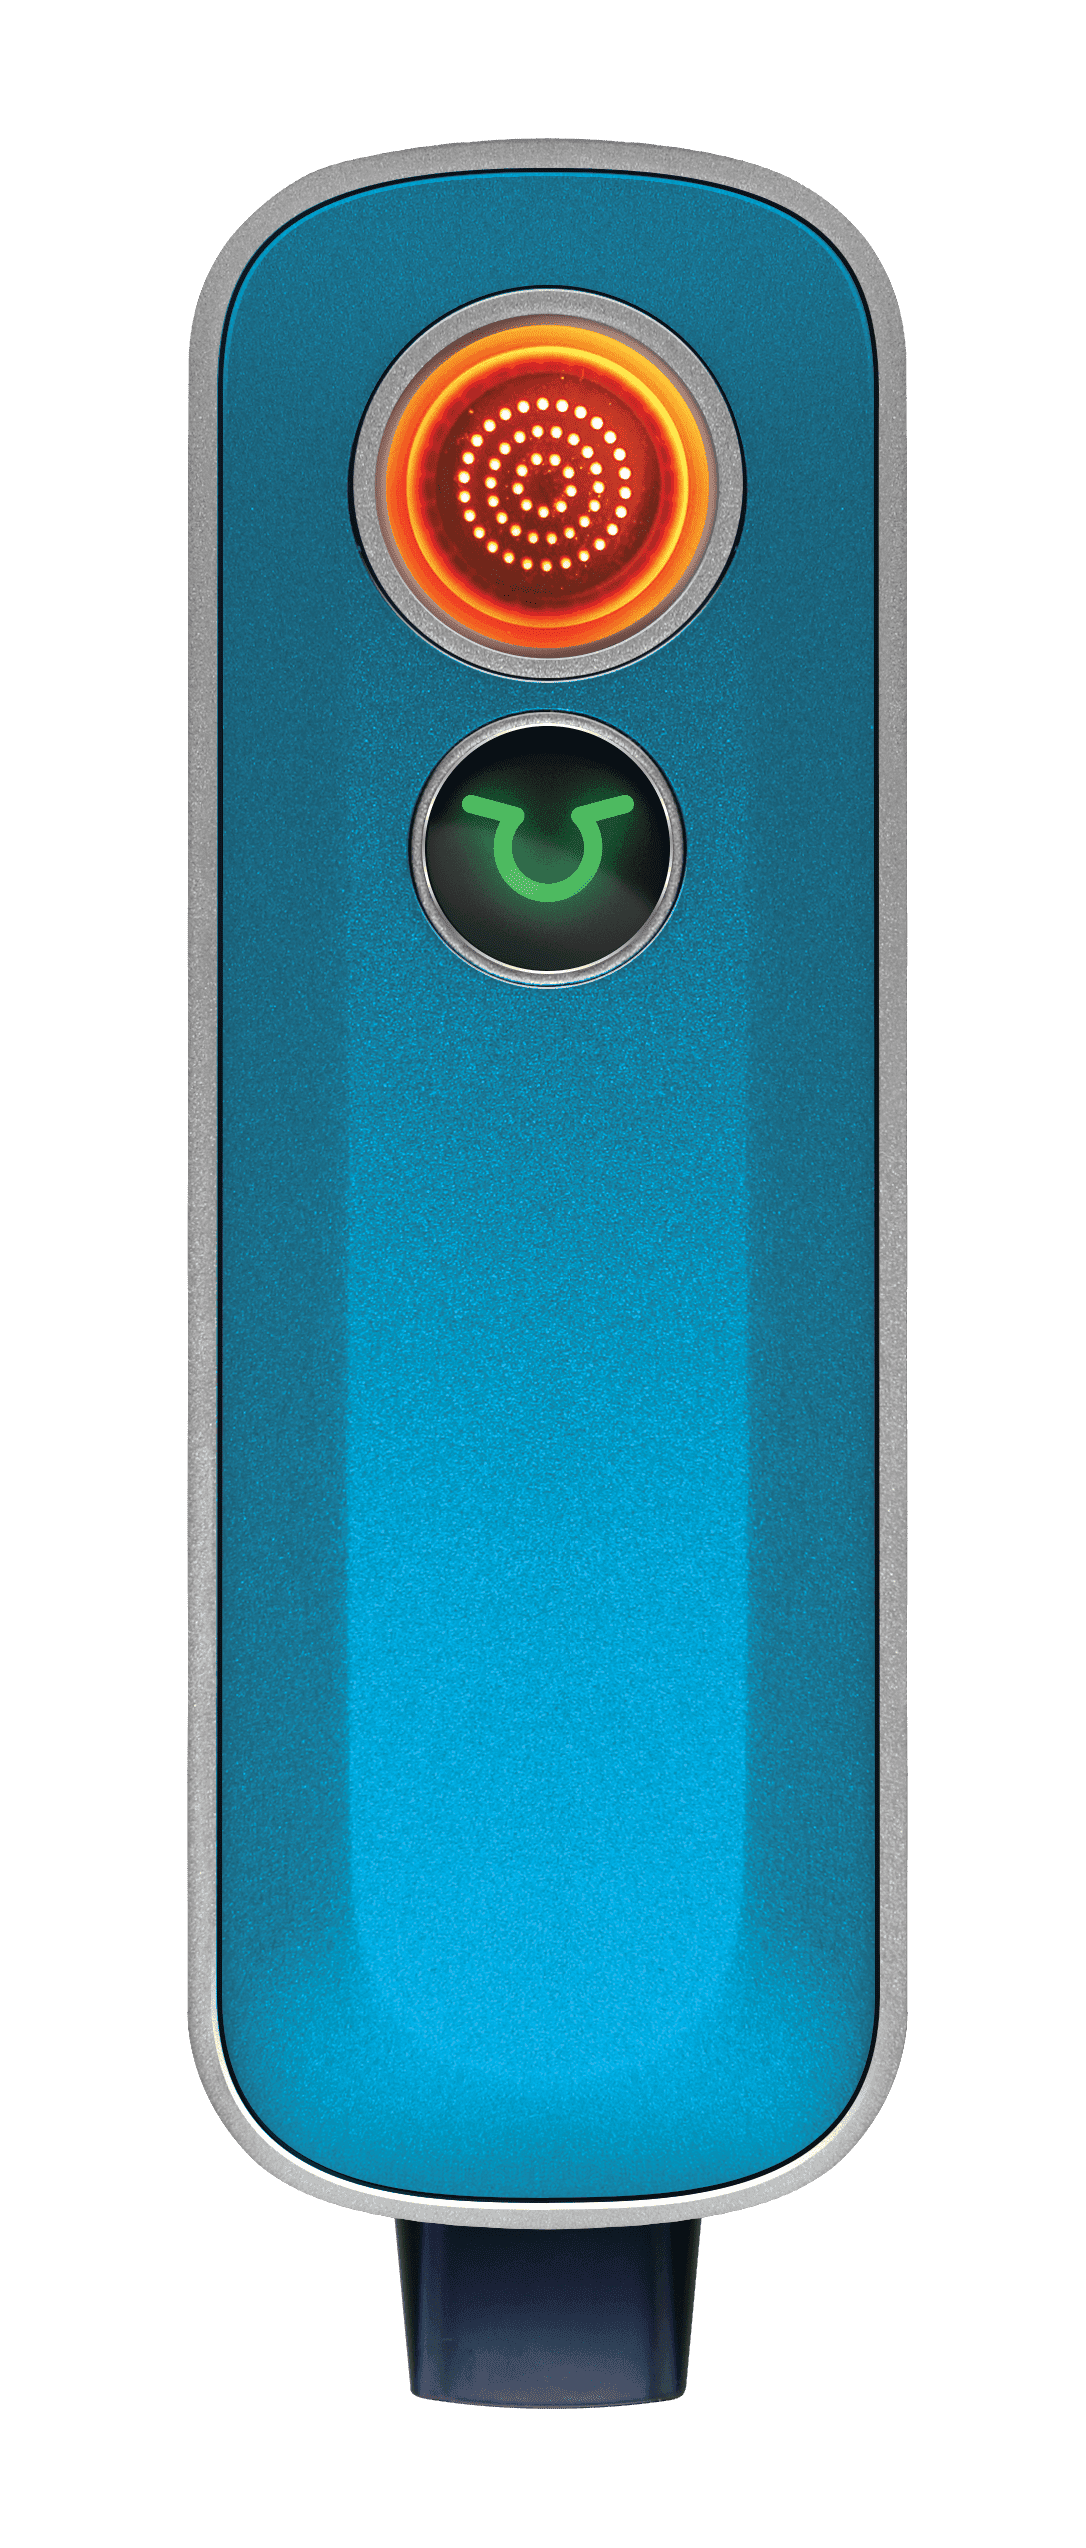
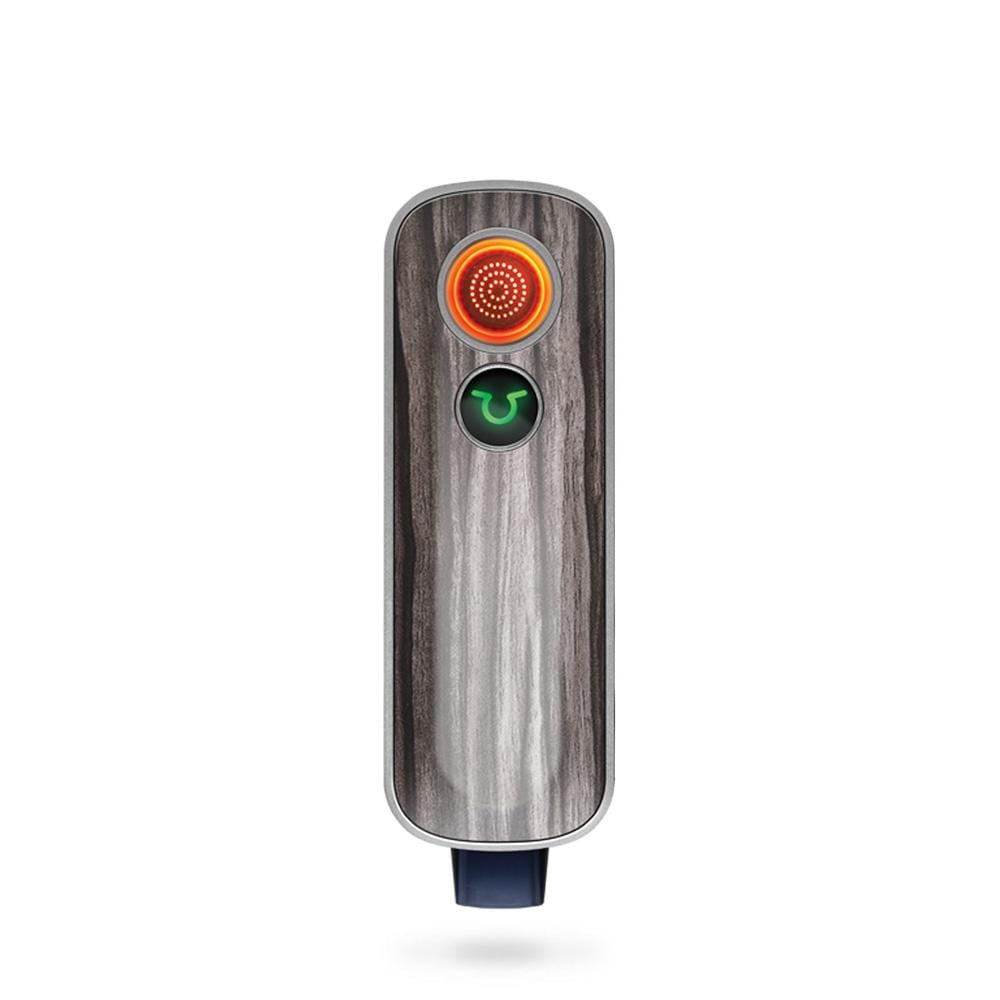
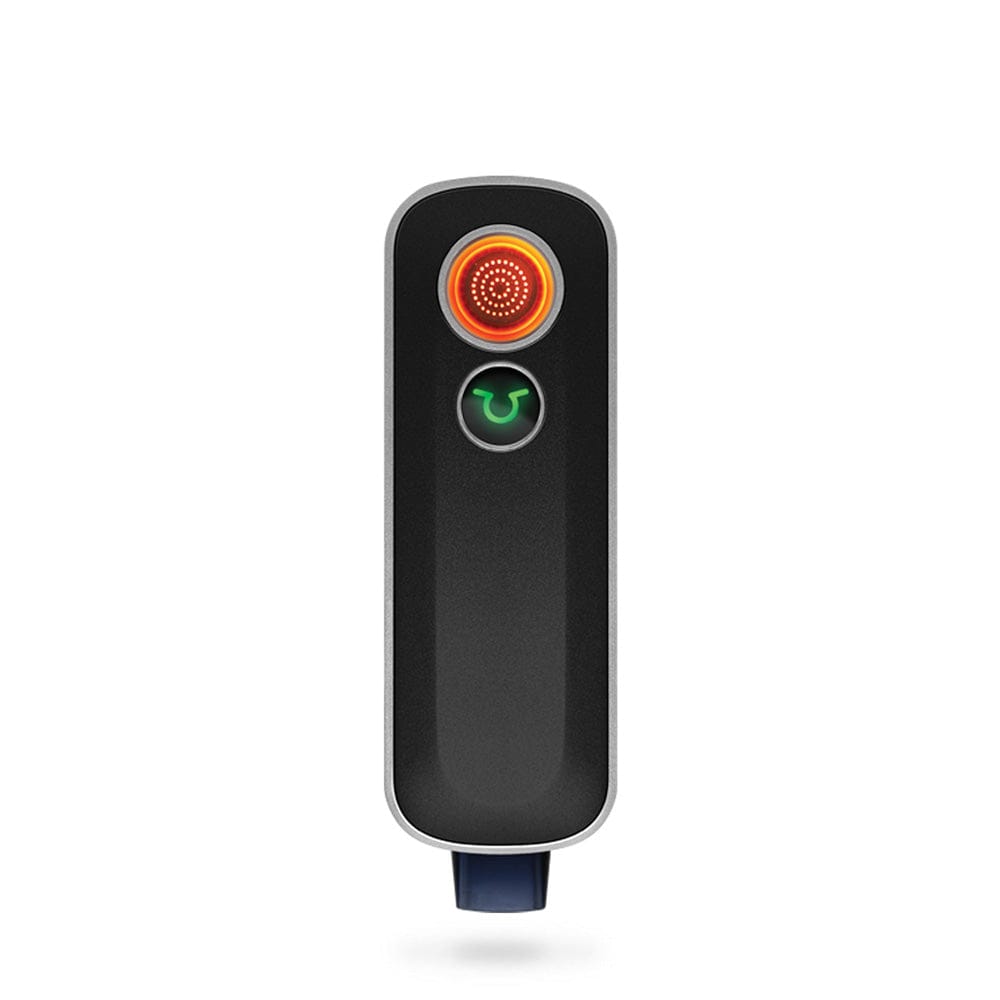
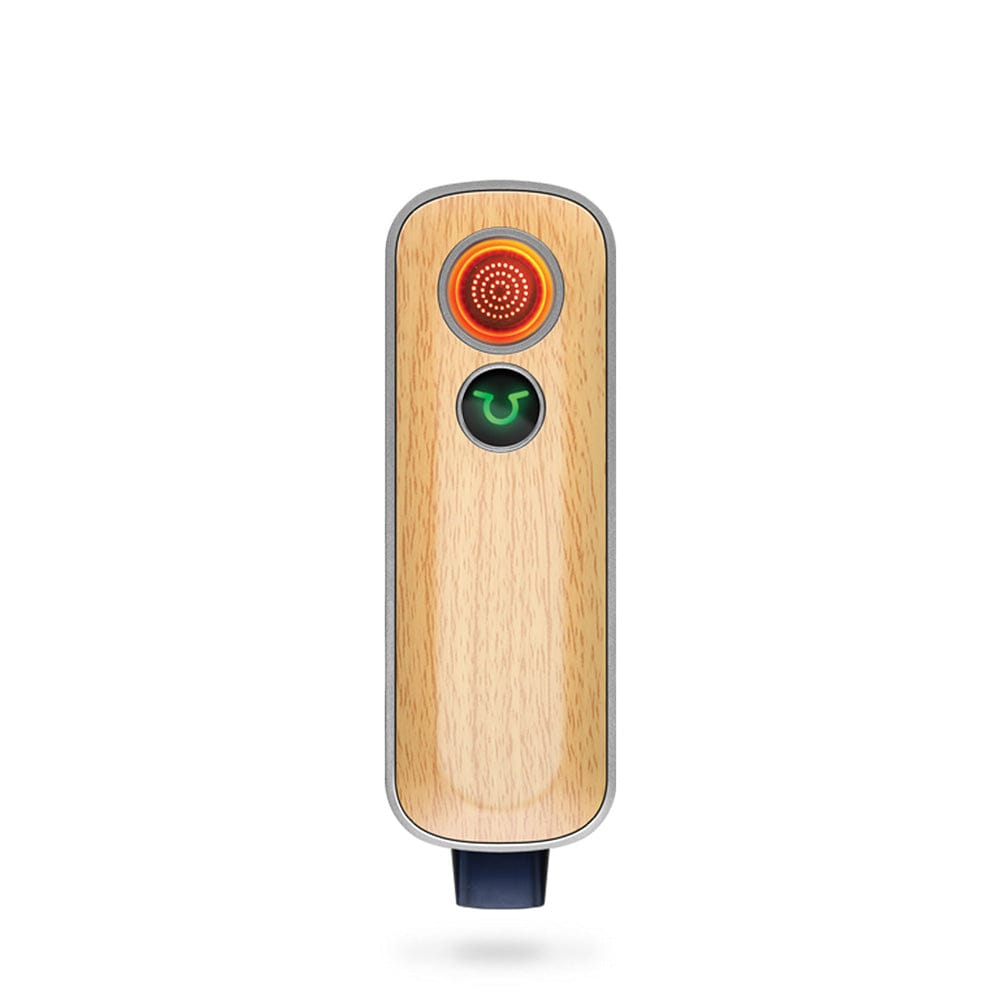
Looking for a long-lasting, easy-to-clean dry herb vape? Then take a look at the Firefly 2+. It's simple design makes it easy to maintain, but its high-quality components consistently provide some of the best-tasting vapor cannabis vapes have to offer!