You go to take a hit from your trusty vape, but then you notice sticky goo. Yikes! “Why is my vape tank leaking?’, you wonder, “Is it broken?” How do you fix a leaking vape tank?
Fortunately, all is not necessarily lost. There are ways to fix and prevent leaks.
Let’s look at the causes of tank leaks. Then we will give you some solutions so you can get back to vaping without worry.
What is Vape Tank Leaking?
That ooze you noticed on the outside of your vaporizer is e-juice. It is escaping from the vaporizer tank. Not only is it a waste of e-liquid, but it could also ruin your vape device.
The amount of liquid leaking can vary. Sometimes you only lose a drop or two of e-juice. But sometimes, the leak is so bad that it leaves you empty. That’s not cool!
So, why is this happening?

Why Do Vape Tanks Leak?
There are a few reasons why leakage occurs:
• First of all, loose connections could be the culprit. When reassembling your tank, make sure everything is sealed tight. And ensure that it's not cross-threaded.
• Secondly, maybe you accidentally got e-juice in the airflow tube. That tube runs through the middle. Overfilling could cause this.
• A third reason could be a bad coil that isn’t burning up all the liquid correctly. Or maybe the coil needs some cleaning.
• Faulty rubber o-rings could be the fourth cause.
• And the fifth reason for unwanted oil leaks is the wrong e-juice for your tank.
So, once you have figured out why there’s a leak, what can you do about it?
How to Fix a Leaky Vape Tank?
Several potential solutions are covered below, in depth. There could be numerous causes. Thus, solving your leak could necessitate multiple solutions. The result of implementing them will be less waste, and better vaping.
Checking Vape Tank Coils
This one is crucial.
-Your coil could be a dud. It happens. You might have bought a lousy coil if a defect escaped factory quality control.
- The coil may be fine; it may just be misaligned. Always check to make sure the coil is screwed in right first. It’s a common mistake and easily remedied by unscrewing it and properly rereading it.
The coil could also be dirty. If you know how to clean a vape coil, that could stop leaks from happening. All you have to do is soak the coil in soapy water, vinegar, or alcohol for an hour or two. Then rinse it under the faucet for a few seconds.
The vape coil is an important component in vaping your e-liquid. So, it makes sense to ensure it works well, and is correctly positioned.
Here’s how to check your coil:
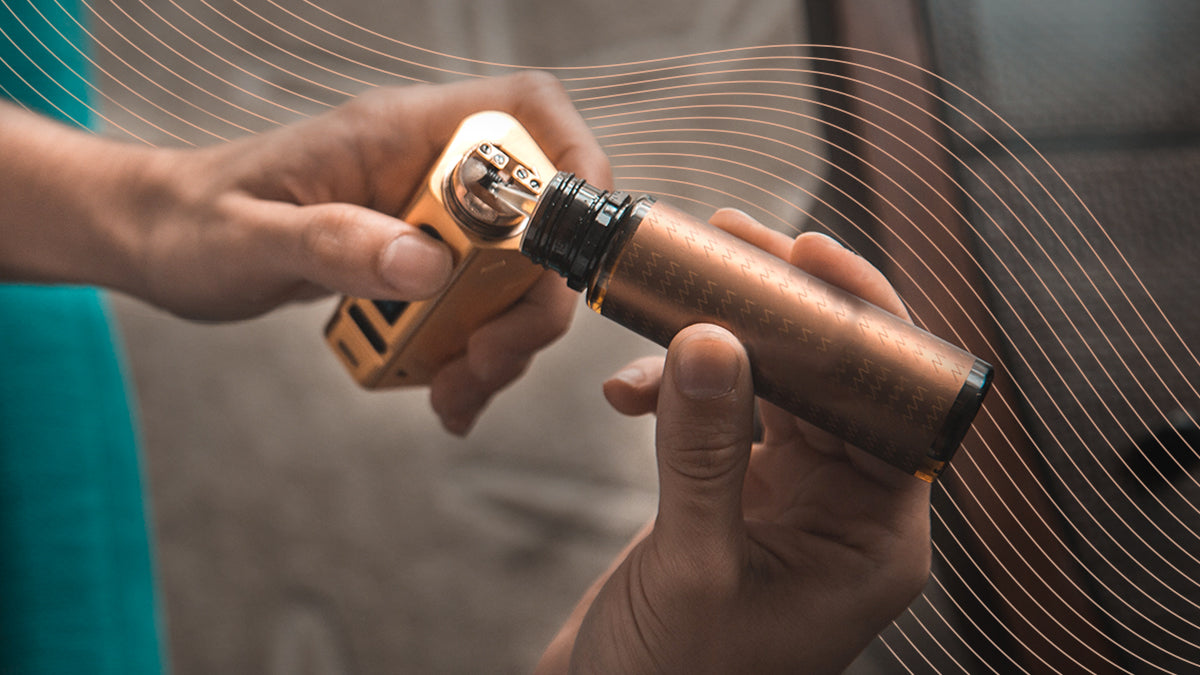
1) Start by taking your vape apart. The oil chamber will unscrew from the top or bottom. The tank location depends on the configuration of your vaping device.
2) Next, empty it. Since the concern is leaking, reduce the risk by draining the remaining e-liquid.
3) Check the coil. Is it screwed in tightly? Is it cross-threaded? If it seems well seated, then the coil is possibly defective. So, then remove and replace. Unscrew and remove the coil.
4) Wet the wick on any new coil with a few drops of e-juice. That helps the wick burn better when you start vaping.
5) After swapping out the coil, reassemble everything. Reattach the reservoir and refill. Be careful not to overfill.
That’s it for the coil. Let’s look at cleaning the vaporizer tank itself.
Keeping the Tank Clean
A clean reservoir gives better performance and reduces the chance of leaks. It’s a pretty straightforward process.
Here’s how it’s done:
1) As with checking the coils, first make sure the oil chamber is empty.
2) Rinse the tank under running water. You could also pre soak it in a bowl of water.
3) Later, wipe it with a towel. Set it aside to dry completely.
4) Replace.
This is not a complicated process. Once cleaned and reattached, it is essential to refill carefully.

An empty vape tank. Image courtesy of Advkentech on Instagram.
Filling the Vape Tank Correctly
Since overfilling is a concern, knowing how to top off your tank correctly is essential. These are the steps:
1) Obviously, you need to begin by removing the reservoir.
2) Remove the coil and saturate the wick with a few drops of the e-liquid you will be using.
3) Unscrew the top so that you can add the e-juice. Some e-liquid reservoirs attach to the bottom of the vaporizer. In that case, remove the bottom. Tip it upside down to pour in your e-juice.
4) Close it again . Wipe off any e-liquid that may have spilled.
5) Reassemble the device. Again, double-check all seals. Also, be sure to wipe off any excess fluid from the outside.
6) Wait a moment to let the liquid saturate the wick entirely before firing up.
Next, a look at nice, tight connections.
Connecting All the Components Securely and Properly
Next to overfilling, loose seals are a significant cause of leaking.
There are some things to look for:
• Cross-threading is a concern. As you screw components together, make sure they are following the grooves. Double-check straightness when they are in place.
• If the coils won’t screw on straight or tight, check to see if the threads look worn. If so, that component should be replaced.
• Don’t use too much pressure or try to force pieces together. Forcing could damage the threads and increase the likelihood of leaking.
What needs to be done once the device is correctly assembled? How the unit is stored could affect leaking.
Storing Your Vape Device Vertically
Liquid likes to run downhill. Keeping a filled vape on its side could lead to leaking. An upright device is less likely to leak.
Vape tanks need air holes for combustion. That’s just how they work. Laying your device down a lot gives e-liquid a chance to leak out through the holes. Keeping it upright avoids that problem.
What if you can’t keep it upright while traveling? What do you do then?
Traveling With an Empty Vape Tank Whether Traveling by Car or Plane
This one seems obvious. Sometimes you can’t keep your unit vertical. Can you bring your vape on a plane, for instance? Well, yes – carefully.
So, when traveling by plane, train, or automobile,remove the juice. Drain your vape tank before traveling. Then there will be no accidental leaks in your luggage or on your clothing.
Make sure the reservoir is emptied. Clean it as outlined above. Store the individual pieces.
Once you get to your destination, you can reassemble the vape and refill the oil chamber.
Onward to other solutions. There’s only a couple left.

Disassembled and packed-up vape and tank. Image courtesy of
Vinsmoke Pipe Vape on Instagram.
Increasing Power or Voltage
Sometimes more power is the way to prevent excess e-juice from leaking. You may have inadvertently flooded the vaporizer. A higher temperature setting will burn off more e-liquid. That will, perhaps, prevent it from leaking out.
Another plus is that boosting power also leads to bigger puffs. So, you’ll have more vapor when you draw from the vaporizer. Much like an added bonus!
Let’s look at one more solution before you get back to vaping.
Conclusion
You know how to vape. Now, when your vape tank is leaking, you know how to fix it.
Leaks are no fun. And it’s a waste of good e-liquid! But there are some common solutions to stop the unwanted flow.
Checking your connections is an excellent first step. Keeping your vape device and all its components clean is essential. Traveling only with an empty tank will also prevent accidental spillage.
Sometimes you have a bad coil and need to replace it. That is simple enough.
More power to burn excess e- juice or a thicker e-liquid also helps prevent leaks. And produces bigger clouds of vapor as a plus.
Overall, it isn’t rocket science. Follow the suggestions above, and reduce the risk of vape tank leaking. Sounds like a relief?
